Interior Painting Tips
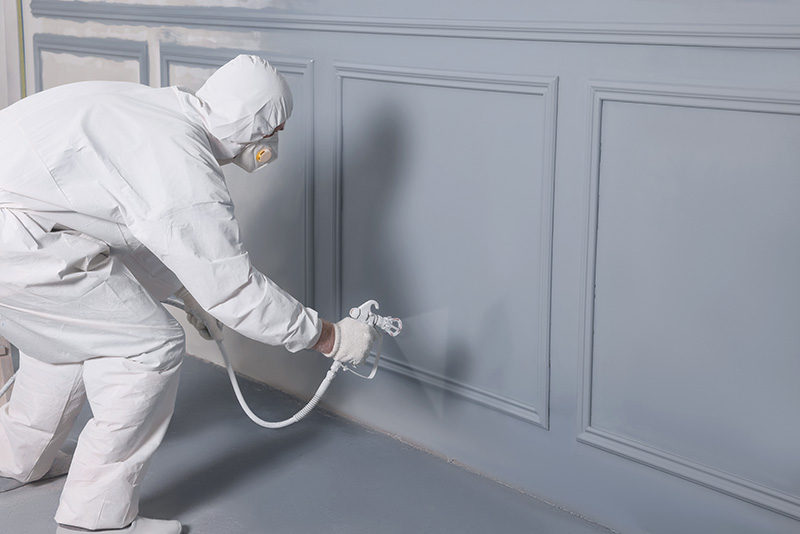
Now you are almost ready to paint, ensure that you’ve removed or adequately covered any furniture and have all of the necessary equipment to hand. Take a look at the below tips to achieve the best possible finish.
Use a wet edge to get a flat finish.
Painting can be frustrating; following these wet edging tips will ensure your paint is applied in even layers. Paint layers can appear uneven if you paint over a section that has already dried; fortunately, it’s easy to navigate this problem by using wet edging; it’s a simple process and comes down to making sure you overlap the last area you painted before it drys.
- Start in the corner of the room and ensure an even paint spread by using your roller in an up-and-down motion right to where the wall meets the ceiling.
- Gradually move sideways as you go. Use a backwards motion to fix any streaks or uneven build-ups of paint.
- Always ensure that the open side of the roller’s frame is on the side you have already painted and that the roller is 50% loaded with paint. This process will improve the layering of the paint.
Buy paints from the same batch or mix.
Something many people miss when buying paint is ensuring they only buy tins with the same batch number. Although each can you purchase should be the same colour, the paint’s pigment can vary slightly across batch numbers. If you love the colour of a particular paint but can’t buy the same batch, it’s time to use a popular decorating technique called boxing, which involves emptying and mixing all the tins in a large bucket. The goal is to achieve a consistent colour; once done, add the paint back into the individual cans and use them as required.
Remove the masking tape at the right time.
When removing masking tape from freshly painted walls, More haste and less speed is the ideal approach. Making sure all the paint is completely dry will lessen the chance of ripping the colour off the wall when removing the tape; as a rule of thumb, it’s sensible to wait at least a day and use a sharp knife to remove it.
Paint Edges first, always!
The key to a professional paint finish is to tackle the most challenging areas first; it may seem like a good idea to start on the more accessible areas first but choose the path of least resistance at your peril. The correct approach is to paint the fiddly areas first, such as around the window and door frames and the corners of the room. Be sure to start from the top of the room and be sparse with the paint on your brush. This approach will help you to avoid splodges and spillages.
Remember to prime your walls.
When executing a good finish, the work starts right at the beginning. The best painters and decorators prepare meticulously before opening a tin of paint; even then, some people make the fatal mistake of painstakingly filling holes and cracks and then fail to remember the final preparation step, the priming! Use a good quality primer to ensure the finished job is free of imperfections and that the finish is consistent. The primer seals the wall and, at the end of the job, will prevent any visible evidence of repairs. its also necessary to ensure the walls are as clean as possible before you paint. This step ensures the paint will properly adhere to the walls.
Cotton drop cloths save time and furniture!
Protecting your home from paint spillages is far easier than clearing up the resulting mess; painters and decorators usually opt for a specific type of cloth called a drop cloth. These can be purchased at a relatively low price; in the event of a spillage, the paint will dry quickly on contact with the drop cloth, making this small purchase well worth your while. In the event of a spillage on an uncovered surface, act promptly and dry up most of the spill immediately with cloths.
Hard-to-reach areas.
Any areas of the room that are difficult to access will require you to feather out the paint. This is due to the fact it can be virtually impossible to maintain the wet edge mentioned earlier in this post, hard to reach areas will invariably mean you are unable to work with constant paint strokes, which, in turn, can lead to an unsightly and uneven texture to the paint. This can be minimised by using a sparsely wet roller and constantly altering the direction in which you apply the paint along the edge of the hard-to-access area; this process will prevent paint build-ups. Do this in conjunction with your hand brush feathering to achieve the perfect finish.
Sand trims between coats.
To achieve a smooth finish on wall trims, you should sand the surface before and after applying the first coat of paint. Be careful at this stage and take the time to sand the trims. Adding more than one coat without sanding the area will typically leave you with an uneven texture, no skimping at this stage! More than a single coat is usually needed to hide the trim’s original colour. Use a fine-grit sanding sponge to sand the trim, then vacuum the surface and wipe it down to remove any leftover dust. After the first coat has dried for at least 24 hours, repeat the sanding and cleaning process before applying the second coat of paint.
Quality is the best policy.
There is a slew of professional and practical painting tips on this page. However, you can follow all of these and still commit the cardinal sin of skimping on quality; if a jobs worth doing, its worth doing properly; therefore, buy equipment and materials at the top end of your budget; good quality brushes make a significant difference to the overall quality of your finished job, loose bristles left in the paint are not a good look! Poor quality rollers do not apply paint faithfully; after you’ve gone through all this trouble, buying the best equipment makes sense.
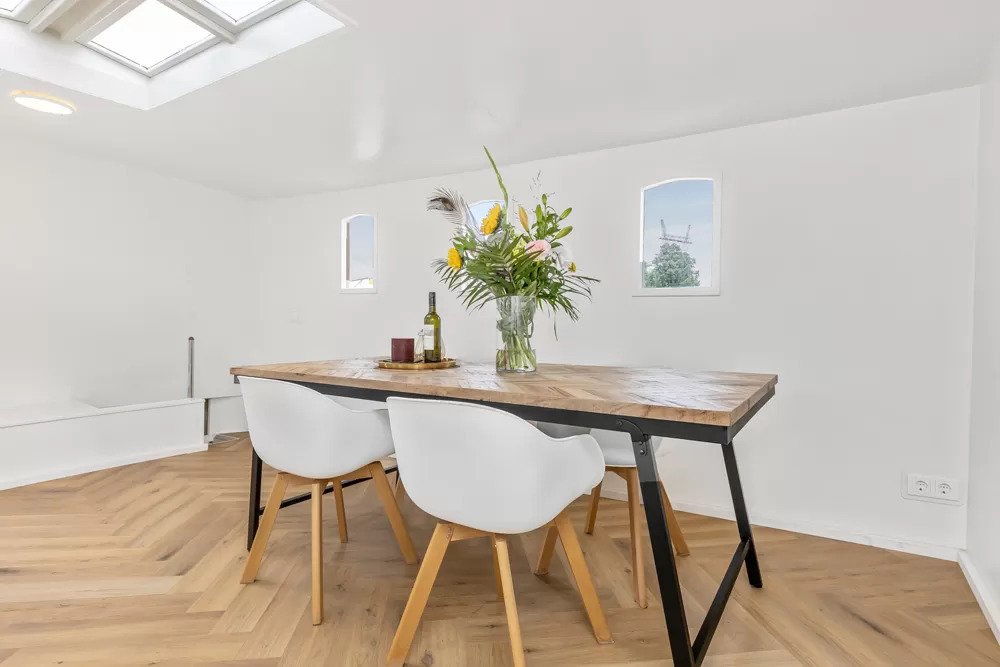
The Post-painting Stage: Add the Finishing Touches.
Once you’ve finished painting, you should take heed of some of these post-decorating tips.
- Always keep some of the paint; you never know when to touch it up. Even a tiny imperfection on your previously pristine wall is enough to distract you.
- Loose Stanley knife blades are the painter’s best friend. They are effective at removing excess paint from glass and other hard surfaces.
- A painter can never have enough cloths. Always ensure you have an old rag or cloth to hand to help you deal with spillages.